Breaking Free Migration From Monolithic Application to Serverless Architecture

- AWS, Monolith, Serverless
- Muhammad Tahir
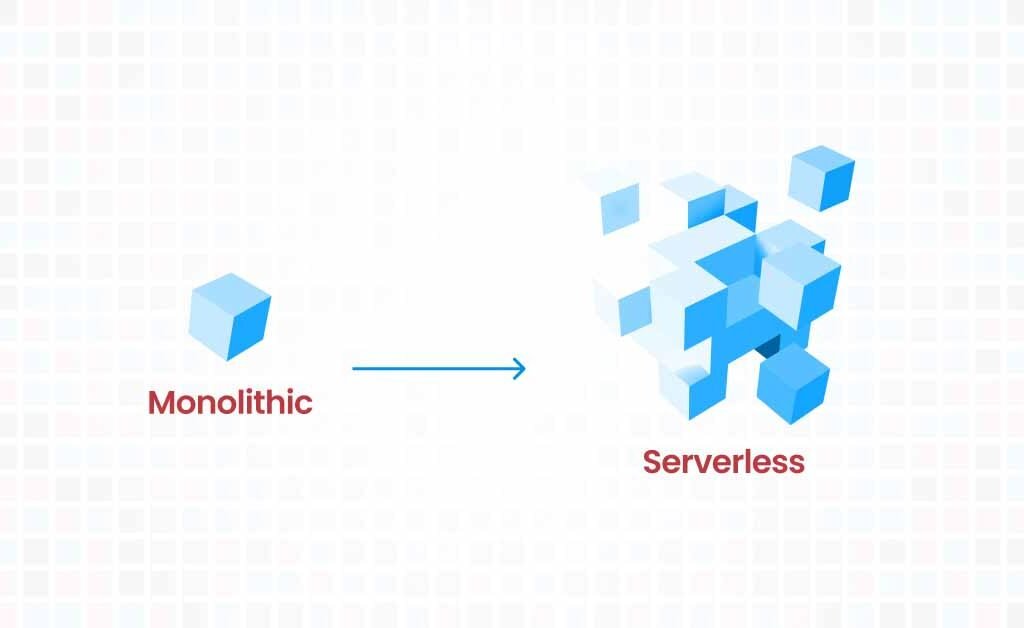
In today’s digital age, businesses face unprecedented challenges adapting to changing market conditions and customer demands. One of the critical challenges is how to efficiently and effectively manage applications in the cloud. Monolithic applications can be difficult to maintain, scale, and update, leading to stability, performance, and cost issues. Serverless architecture offers an attractive solution to these problems, but transforming a monolithic application to serverless requires careful planning and execution.
This article will explore the steps in successfully transforming a monolithic application into a serverless architecture.
Step 1: Identify Your Application Components
The first step in transforming a monolithic application to serverless is to identify the components of the application that can be broken down into smaller components that can be independently deployed, scaled, and updated. These components can then be migrated to a serverless architecture allowing for greater flexibility, resilience, and agility in application management.
To identify the components of your monolithic application, you can use a variety of techniques, such as code analysis, application mapping, and user journey analysis. The goal is to create a comprehensive inventory of the components of your application and determine which ones are suitable for migration to a serverless architecture.
For example, consider a monolith application for a banking platform. It can be “componentized” by extracting the following smaller components.
- User Management: This component manages users’ account information, such as personal details, login credentials, and account settings. It might involve features like account creation, password management, and account recovery.
- Bank Account: This is the core component of the system, responsible for managing users’ bank accounts, including account balances, transactions, and transaction history.
- Transaction Processing: This component processes user transactions, such as deposits, withdrawals, and transfers.
- Reporting: This component generates various reports for users and administrators, including account statements, transaction history, and financial information.
Step 2: Choose a Cloud Provider
Once you have identified the components of your application that can be migrated to a serverless architecture, the next step is to choose a cloud provider. Several cloud providers are available, including Amazon Web Services (AWS), Microsoft Azure, and Google Cloud Platform.
When choosing a cloud provider, you should consider several factors, such as the cost of the services, the availability of the services, and the ease of use. You should also evaluate the provider’s serverless offerings, such as AWS Lambda or Azure Functions, to determine which is best suited to your application.
Step 3: Refactor Your Code
Refactoring your code is the next step in transforming a monolithic application to a serverless one. This involves modifying your application code to take advantage of the features and services offered by the serverless architecture.
Refactoring your code can be a complex process, and you may need to seek the assistance of a skilled developer or architect. Some of the key considerations when refactoring your code include:
- Splitting your code into smaller, independent components that can be independently deployed and scaled.
- Using cloud-native services, such as AWS DynamoDB or Azure Cosmos DB, to store and manage data.
- Using cloud-native messaging services, such as AWS Simple Notification Service (SNS) or Azure Event Grid, to handle event-driven workflows.
- Leveraging the power of AWS Lambda or Azure Functions to execute code in response to events or triggers.
Step 4: Design for Scale
One of the key advantages of serverless architecture is its ability to scale based on demand. To take advantage of this feature, it is essential to design your application for scale from the outset.
This involves designing your application to handle large traffic volumes and automatically scale up or down based on demand.
Designing for scale also involves considering the impact of latency on your application. When migrating to serverless, it’s important to consider the potential impact of cold starts, which can cause a delay in the response time of your application.
Step 5: Test and Deploy
Once you have refactored your code and designed your serverless application, the next step is to test and deploy your application. Thorough testing ensures the application behaves the same before and after refactoring.
Conclusion
The benefits of the serverless architecture described in the post include improved scalability, cost savings, increased agility, and reduced maintenance and infrastructure management overhead. However, identifying which cloud services to use and how to configure them for security, compliance, observability, and performance requires in-depth knowledge of the cloud platform. CloudKitect has developed a turnkey solution to enable cloud adoption in minutes. Schedule a call today for a free evaluation of your application transformation needs.
Talk to Our Cloud/AI Experts
Search Blog
About us
CloudKitect revolutionizes the way technology startups adopt cloud computing by providing innovative, secure, and cost-effective turnkey solution that fast-tracks the digital transformation. CloudKitect offers Cloud Architect as a Service.

